WhatsApp Ads Trigger Setup Guide
The WhatsApp Ads Trigger allows you to connect your Meta (Facebook) ads to an automated conversation on WhatsApp using Reflys. When someone clicks your ad, they’re taken straight to WhatsApp, where an automated message from your business begins the conversation.
This guide explains step-by-step how to:
- Set up your Reflys automation
- Create a Meta ad campaign
- Connect your ad to Reflys
- Handle common questions and issues
How to Set Up a WhatsApp Ad Campaign with Reflys Trigger
Step 1: Create a Reflys Automation
Start by creating an automation in Reflys. This automation will automatically reply to anyone who clicks your WhatsApp ad.
Here’s how to do it:
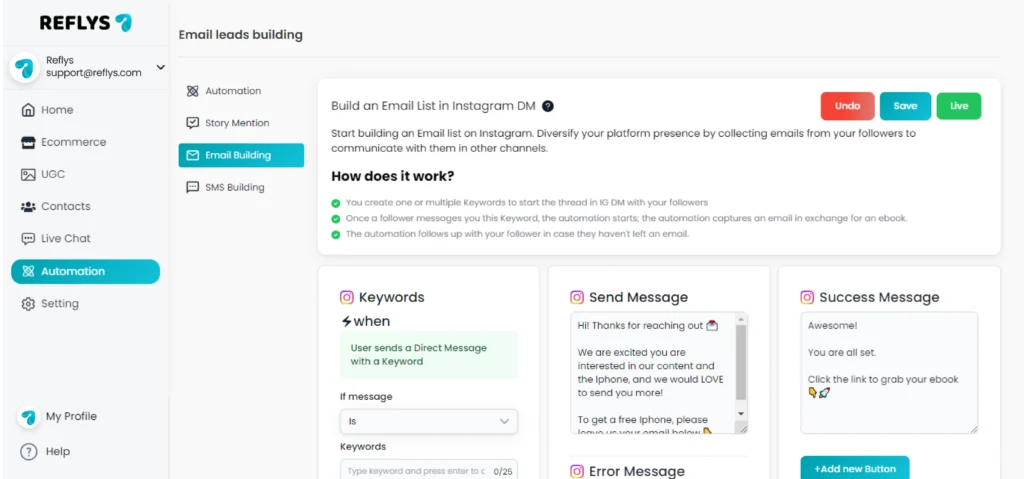
- Go to the Automation section in the Reflys dashboard.
- Click + Add Automation.
- For the trigger, choose WhatsApp > User clicks a CTWA Ad (Click to WhatsApp Ad).
If you haven’t created your ad yet, that’s okay. You can return to this step and connect the ad once it’s ready.
Now, create your initial message. This will be the first thing a customer sees in WhatsApp after clicking your ad.
Important: The user must send this message to become a subscribed contact. Clicking the ad link alone is not enough.
Once the message is ready, we recommend adding more replies or actions after it to continue the conversation smoothly. For example:
- Ask follow-up questions
- Collect phone or email
- Share product links or booking options
Step 2: Create a Meta Ad Campaign
Now go to Meta Ads Manager to create your ad campaign.
Here’s how to begin:
- Go to Meta Business Suite > Ads > Ads Manager
- Click the + Create button
Choose one of these campaign objectives:
- Traffic
- Engagement
- Leads
- Sales
Then choose Manual Setup to fully control the settings.
Step 3: Set Up the Ad Set
In the Ad Set section:
- For Conversion Location, select Messaging Apps
- Choose the WhatsApp number that’s connected to Reflys
Then set your
- Budget
- Schedule
- Target Audience (age, location, interest, etc.)
Adjust these based on your goals.
Step 4: Set Up the Ad
In the ad setup:
- Set the Call-to-Action button to: Send WhatsApp Message
- Write a short welcome message under the Message Template
- Example: “Hi there! How can we help you today?”
This is what users will see before they send the message to your business.
Step 5: Save the Ad as a Draft
Before publishing your ad:
- Go back to Reflys
- Complete your automation (with the WhatsApp Ads trigger)
- Save and publish the automation
Now return to Meta Ads Manager to finish and launch your ad campaign.
Connecting the Ad to Your Reflys Automation
Step 1: Link the Trigger to Your Ad
- To make the WhatsApp ad work with your Reflys automation, you must connect your ad to the trigger.
Step 2: Connect via Ad ID
- Go to Ads Manager
- Find and copy the Ad ID number
- Paste the Ad ID into Reflys when setting up the trigger
Note: It might take up to 30 seconds for your ad to show up in Reflys.
Step 3: Publish Everything
Once all steps are complete:
- Publish your automation in Reflys
- Activate your ad campaign in Meta Ads Manager
Everything is now ready. When someone clicks your ad, they will go directly to WhatsApp and receive the first automated message from your Reflys flow.
You can preview your ad before publishing to see what users will experience.

