Contacts Tab in Reflys: A Complete Guide
Managing your contacts effectively in Reflys is the key to running successful campaigns and keeping your audience engaged. The Contacts tab allows you to see, manage, and engage all of your leads and customers in one place.
The guide will help you master all the features of the Contacts tab, including understanding contact statuses and importing lists in Reflys dashboard.
Getting Started with the Contacts Tab
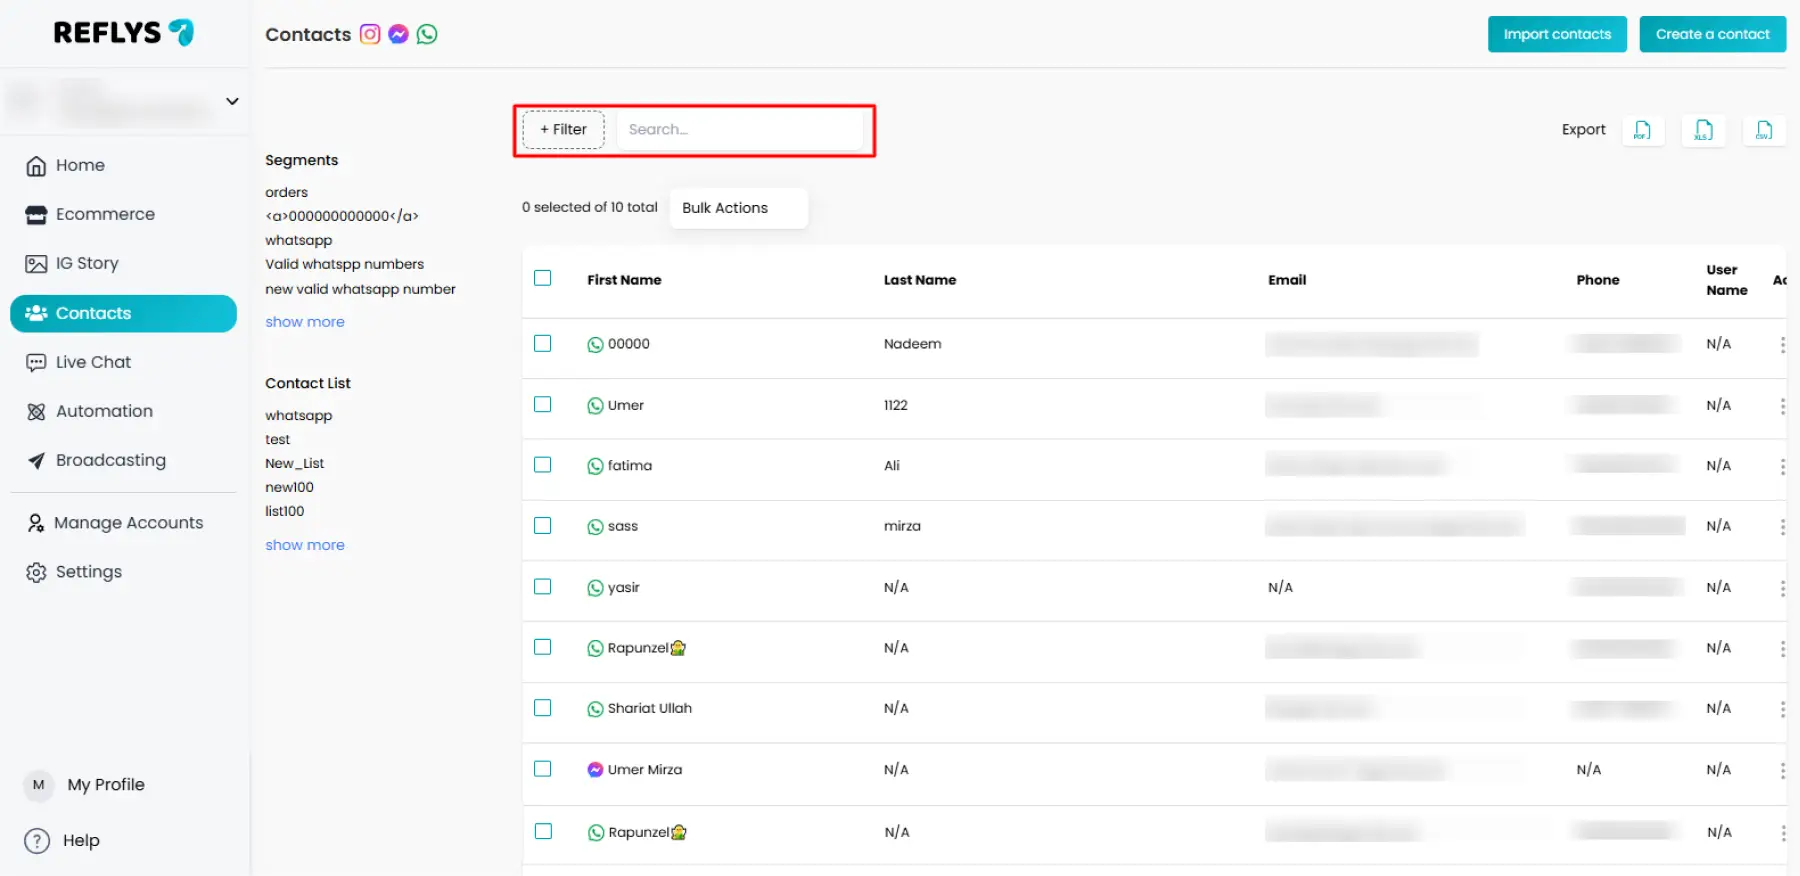
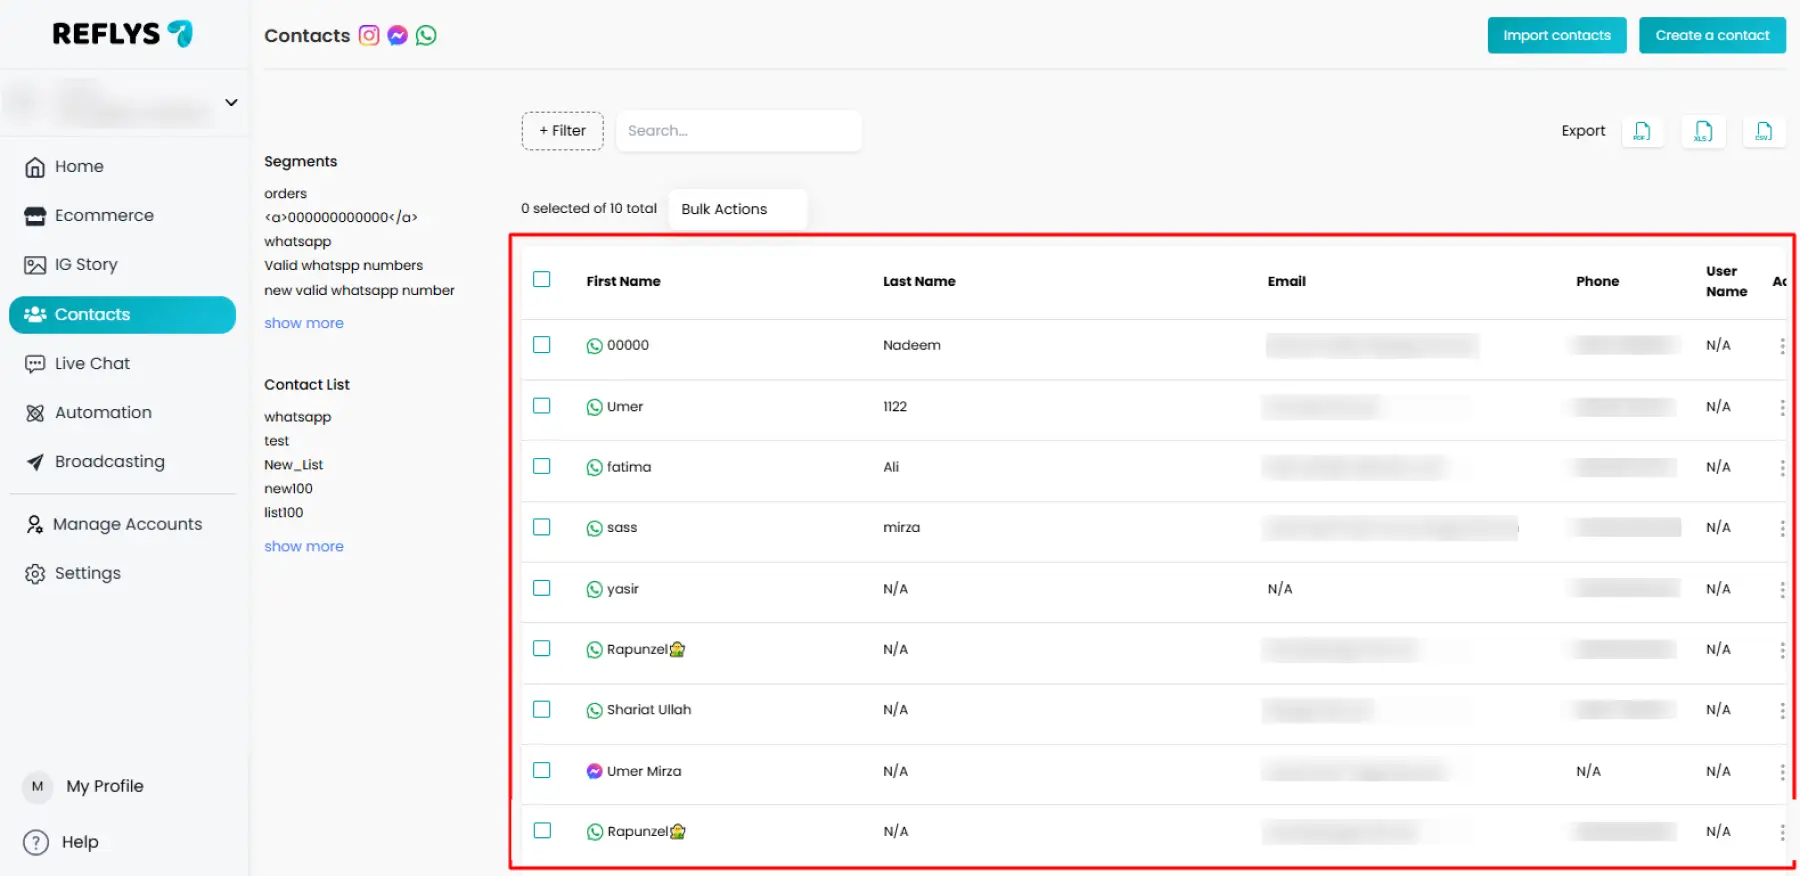
When you open the Contacts tab in Reflys, you’ll see your full contact list. Here’s what you’ll notice right away:
Search and filter bar – Quickly find any contact by name, phone number, or email
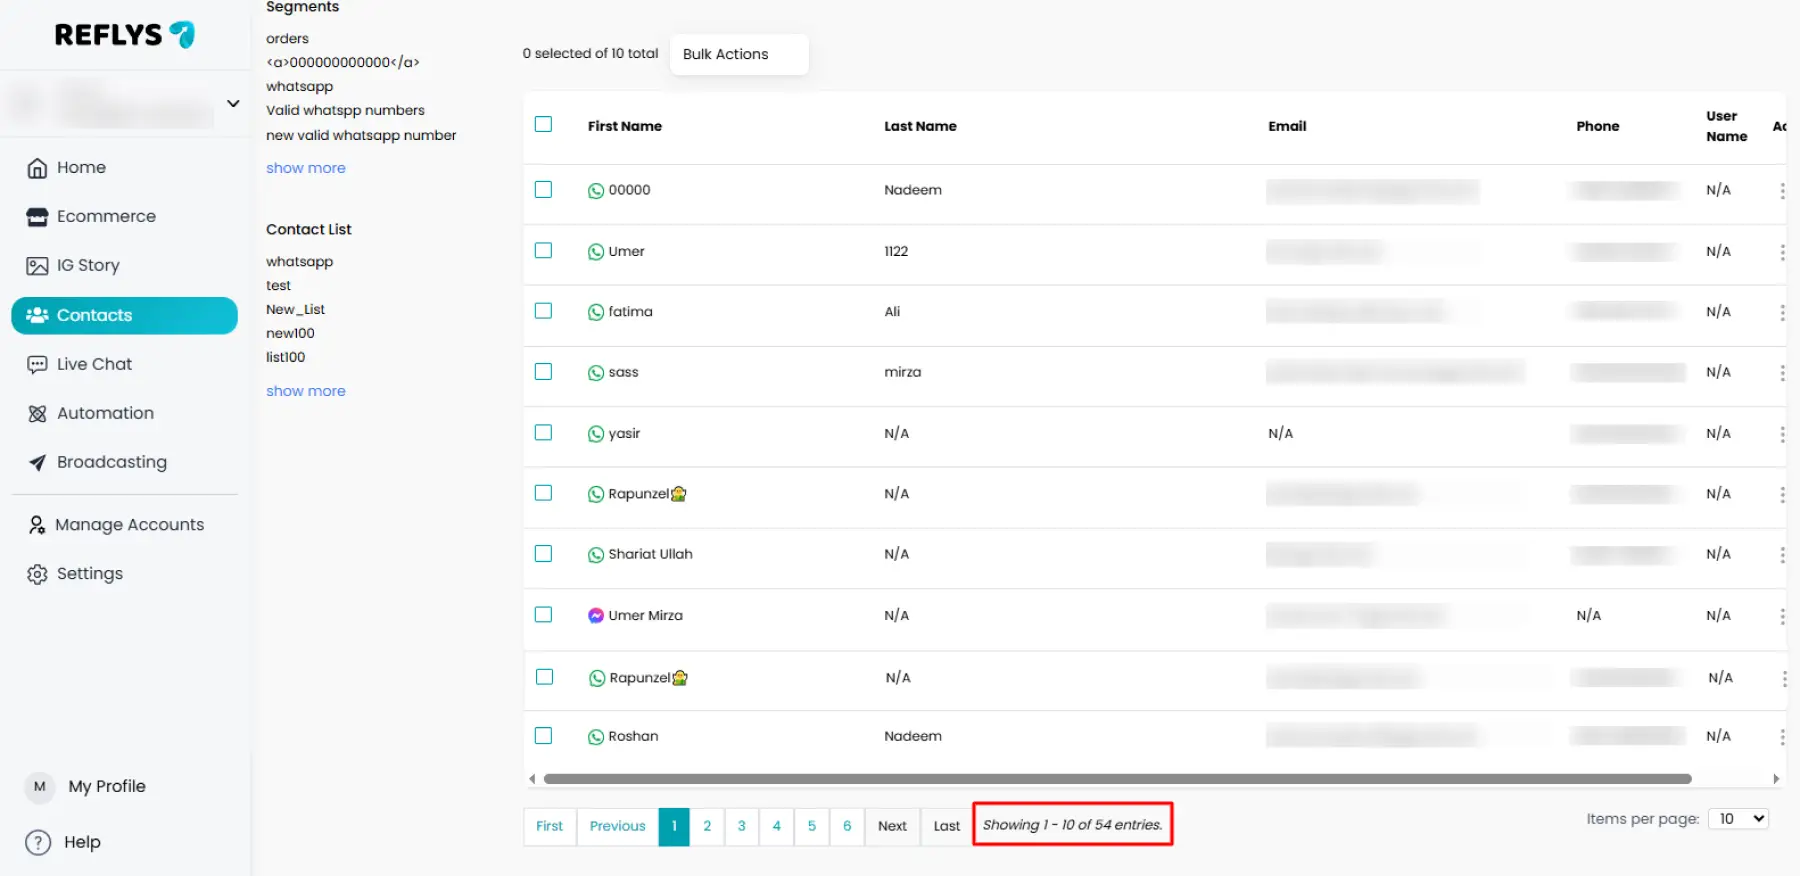
- Total contacts – Displays the total number of contacts in your account.
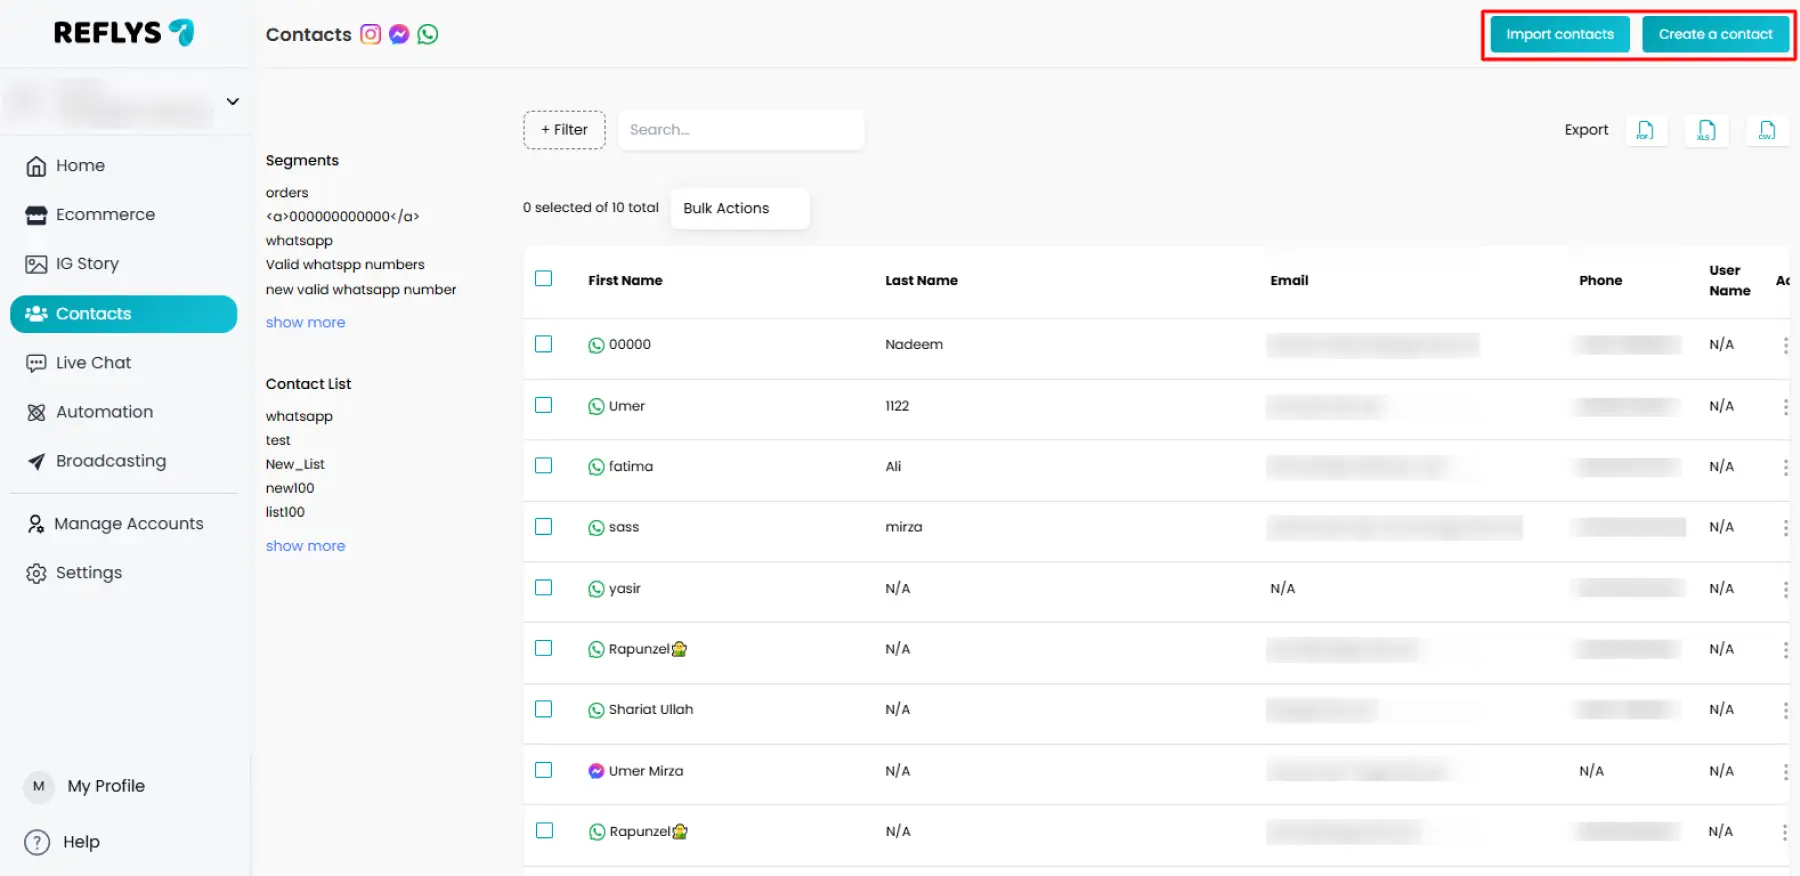
- Import or create a new account – Allows you to quickly import your contacts or create a new contact with Refly’s dashboard.
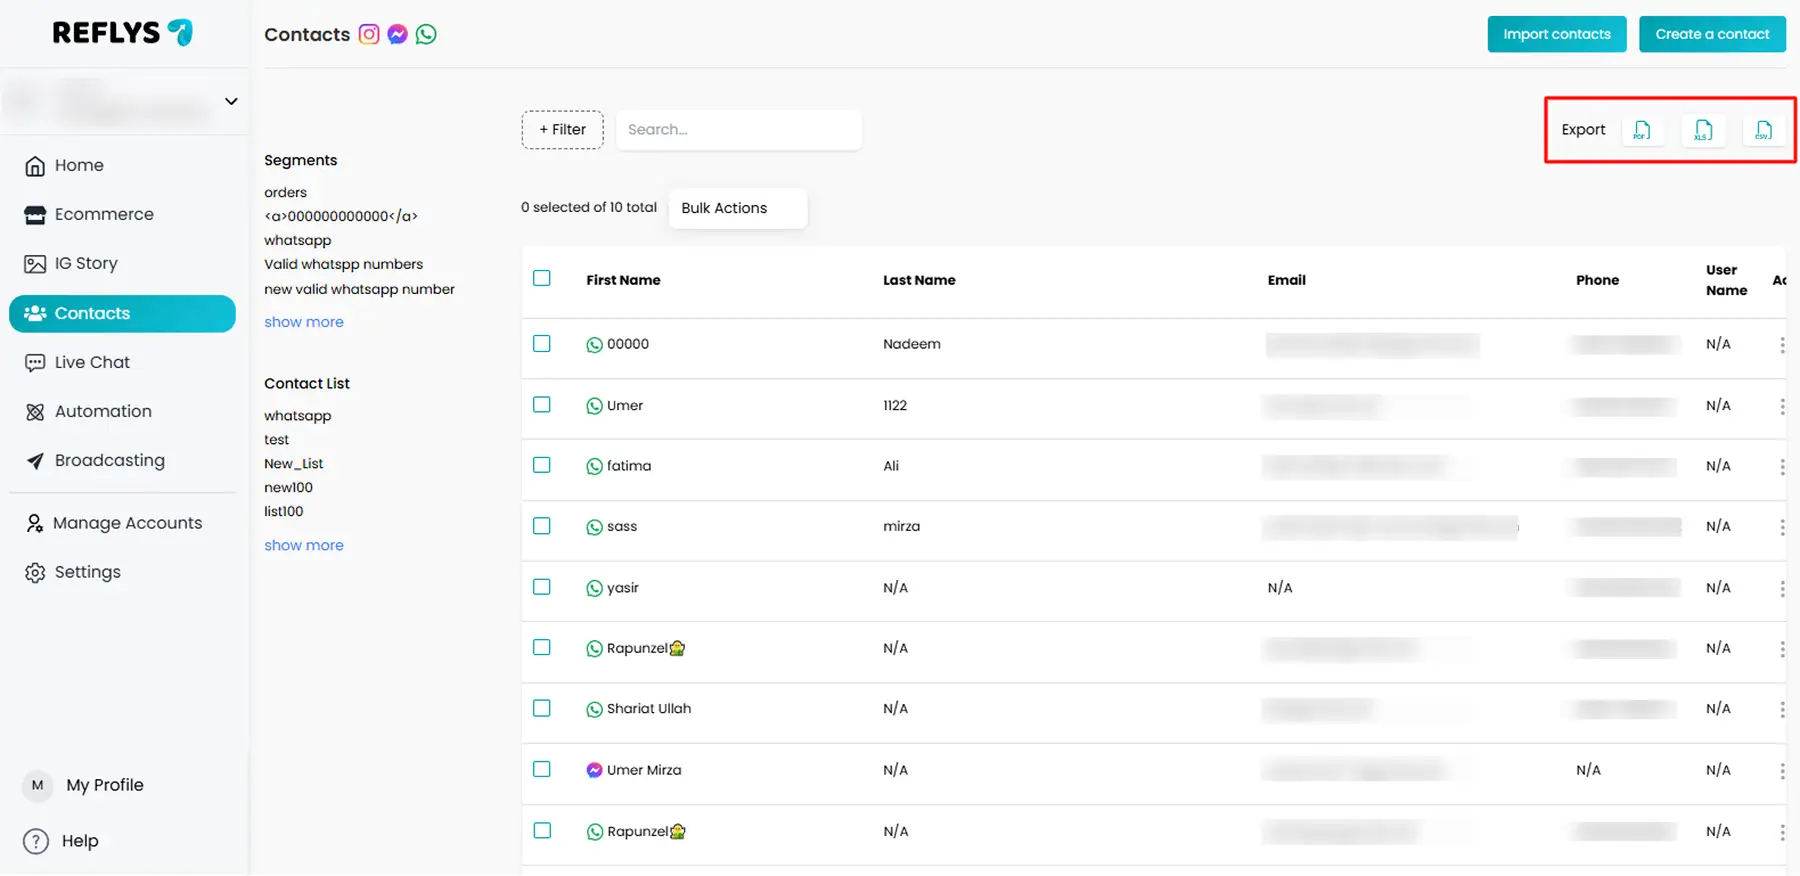
- Export Contacts in three formats – Refly’s dashboard allows you to export your contacts in three formats: PDF, CSV, and XLS.
- Save contact details – In the contact list, you can get saved information of the user as first and last name, email, phone number, and user name
Filtering Your Contacts
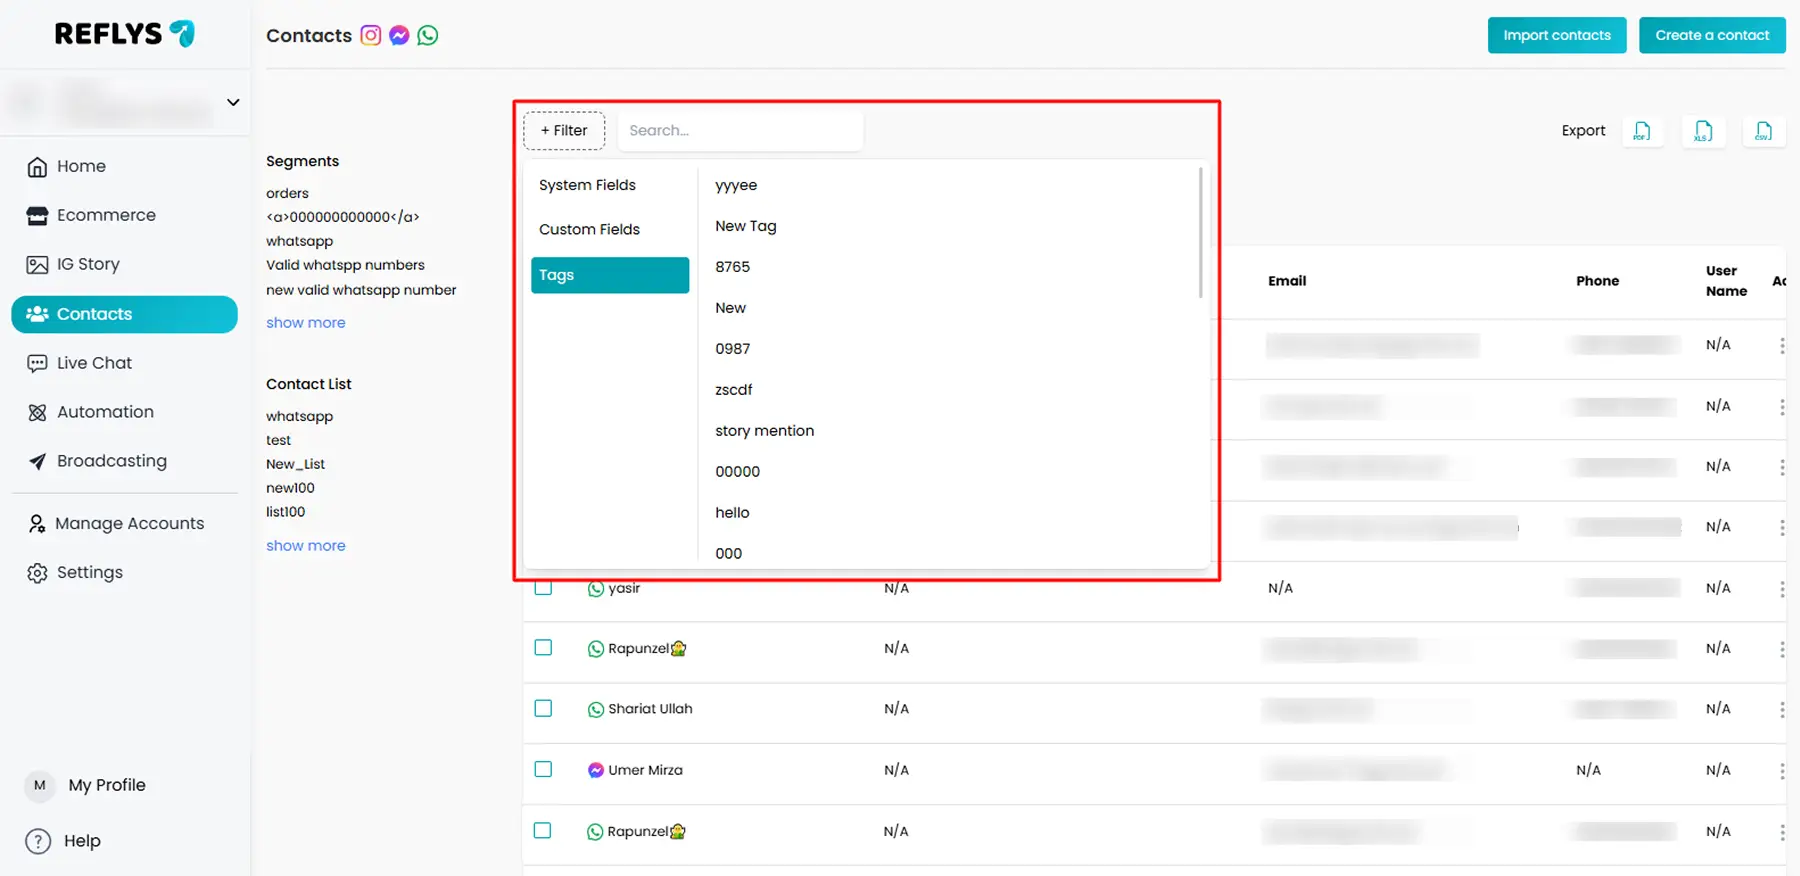
When applying filters, you can narrow your contact list for better targeting. You can combine multiple filters, such as
- System fields
- Custom fields
- Tags
You can filter many conditions, which are especially useful for creating highly targeted campaigns.
Using Segments
Once you’ve applied your filters, you can save them as a segment.
Segments automatically update; if a contact matches the segment criteria later, they’re added to that list.
For example:
- Create a segment for contacts who interacted in the last 24 hours but do not have a certain tag.
- Use that segment to send a special follow-up campaign.
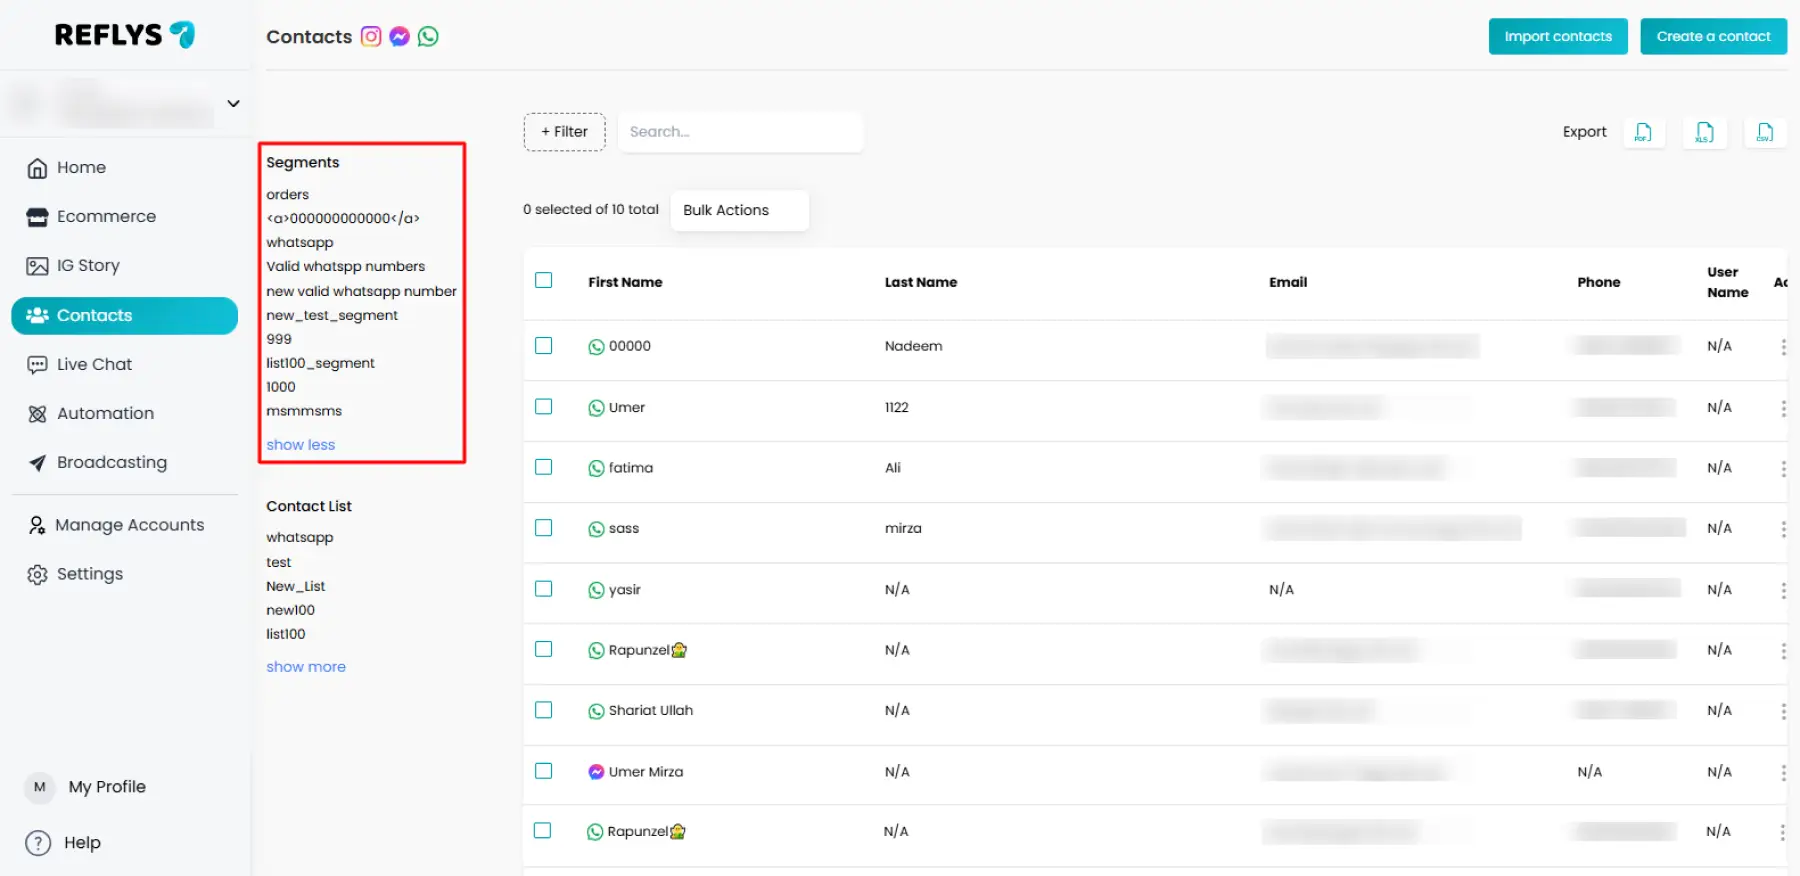
You can view, edit, or delete segments from the sidebar.
Tags: Your Contact Organizers
Tags are labels you attach to contacts to help you group them for campaigns.
Think of tags as categories — for example:
- “VIP Customer”
- “Webinar Attendee”
- “Lead Magnet Download”
You can tag contacts when they click a button in an automation, when they complete a form, or even manually.
How to Apply Tags in Reflys
You can add tags manually by
- Open the contact’s profile.
- Click Add Tag.
- Click on Create a new one.
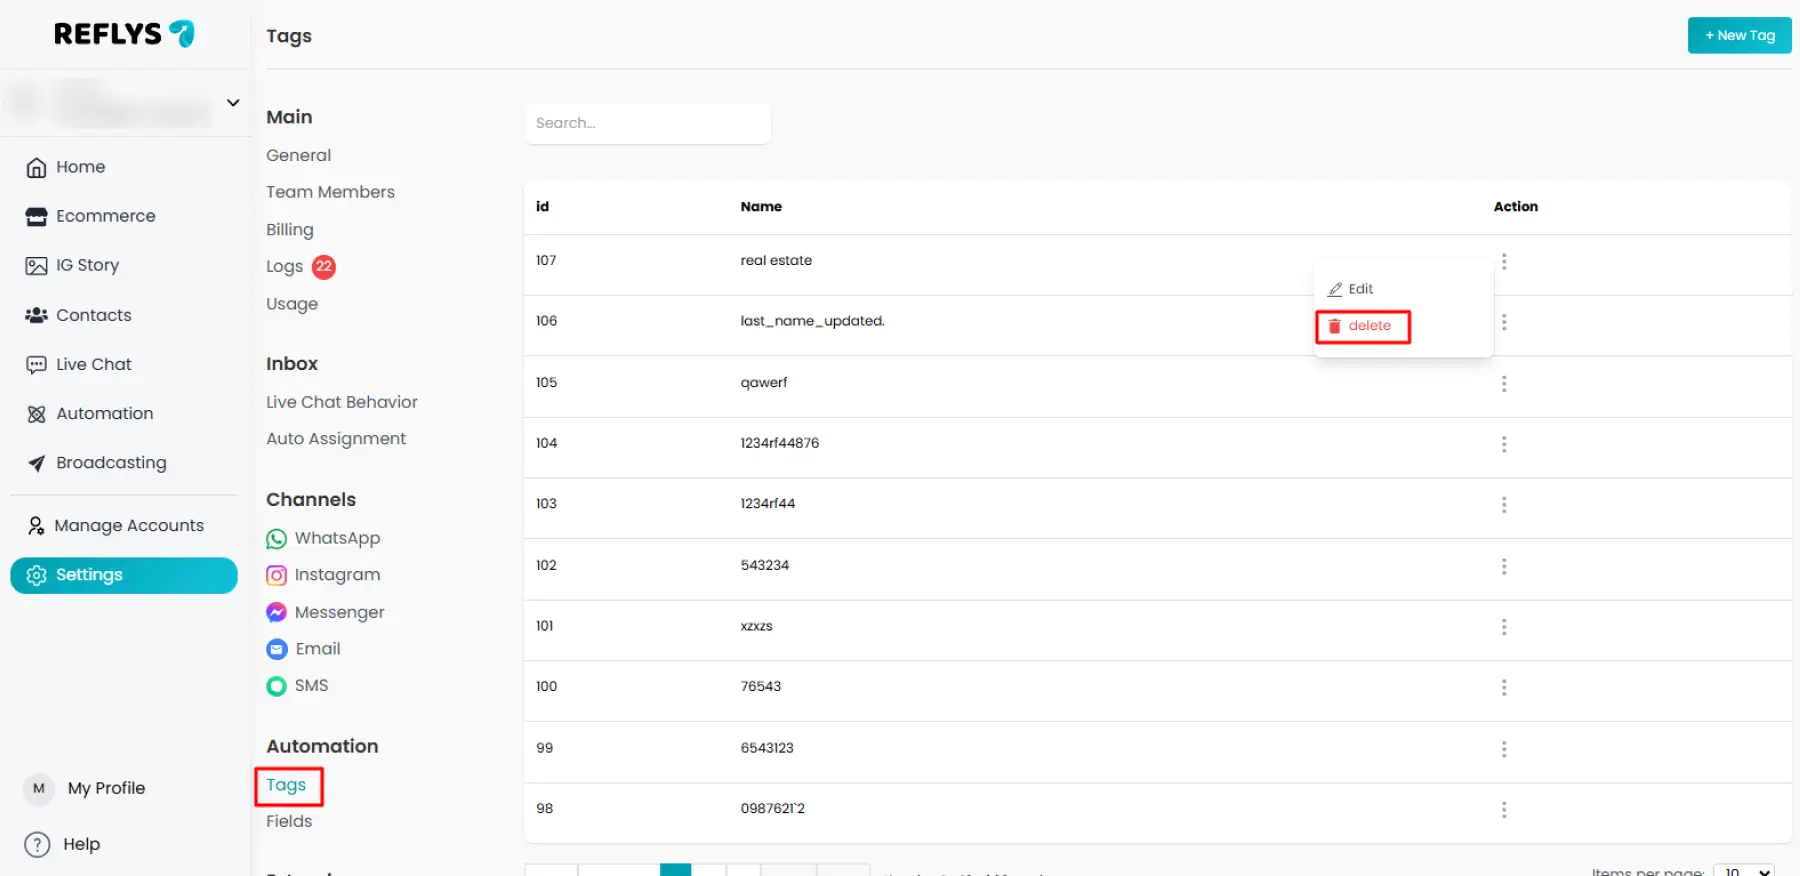
How to Delete Tags
To remove a tag from Reflys’ dashboard,
- Go to settings
- Click the tags in action and then delete.
- Confirm your action
Contact Profile
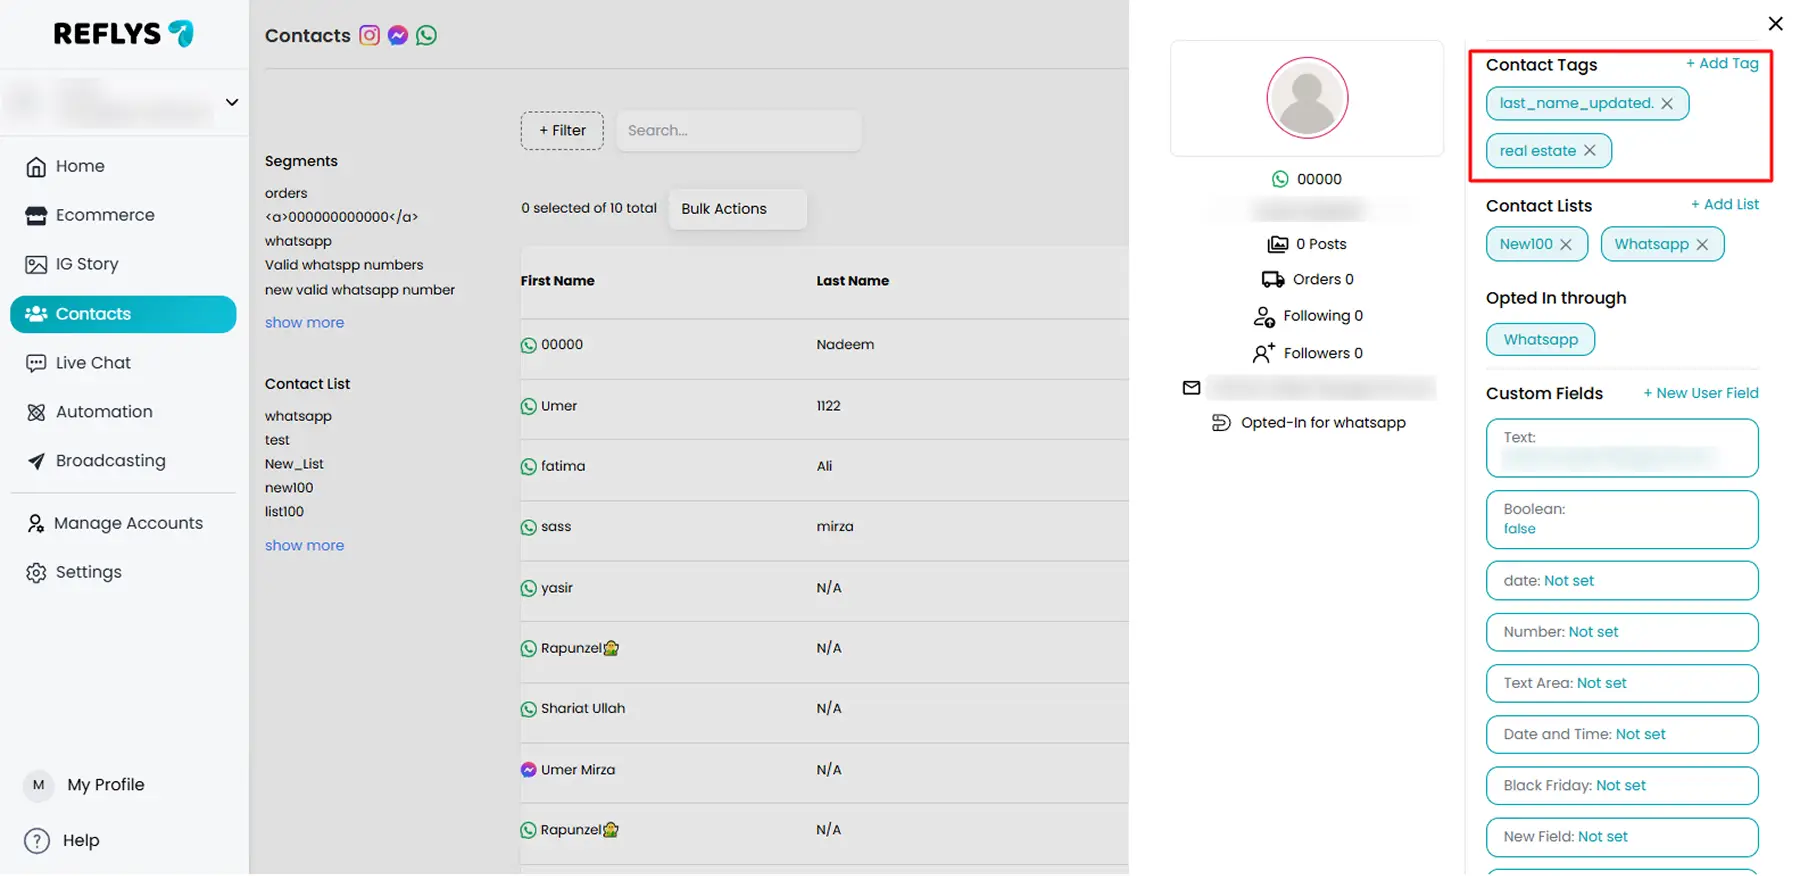
Click on a contact’s name to open their full profile. Here, you’ll see:
- User profile
- Contact number
- Following and followers
- Number of posts
- Total orders
- Tags
- System and custom fields
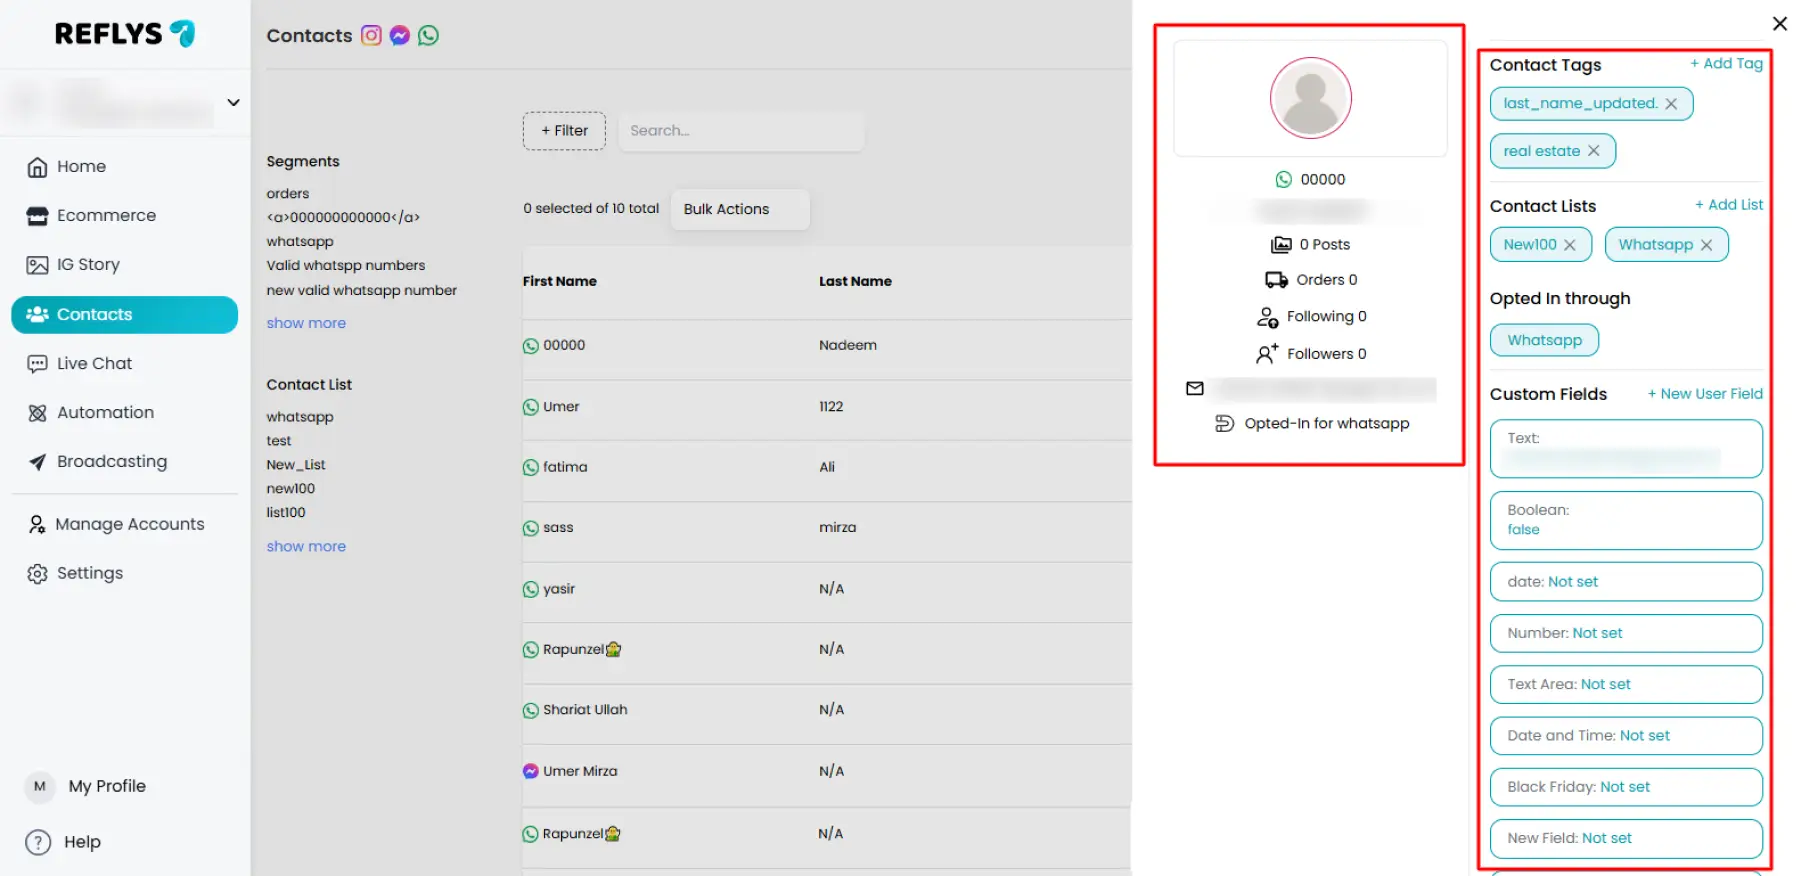
You can also start a live chat directly from the profile.
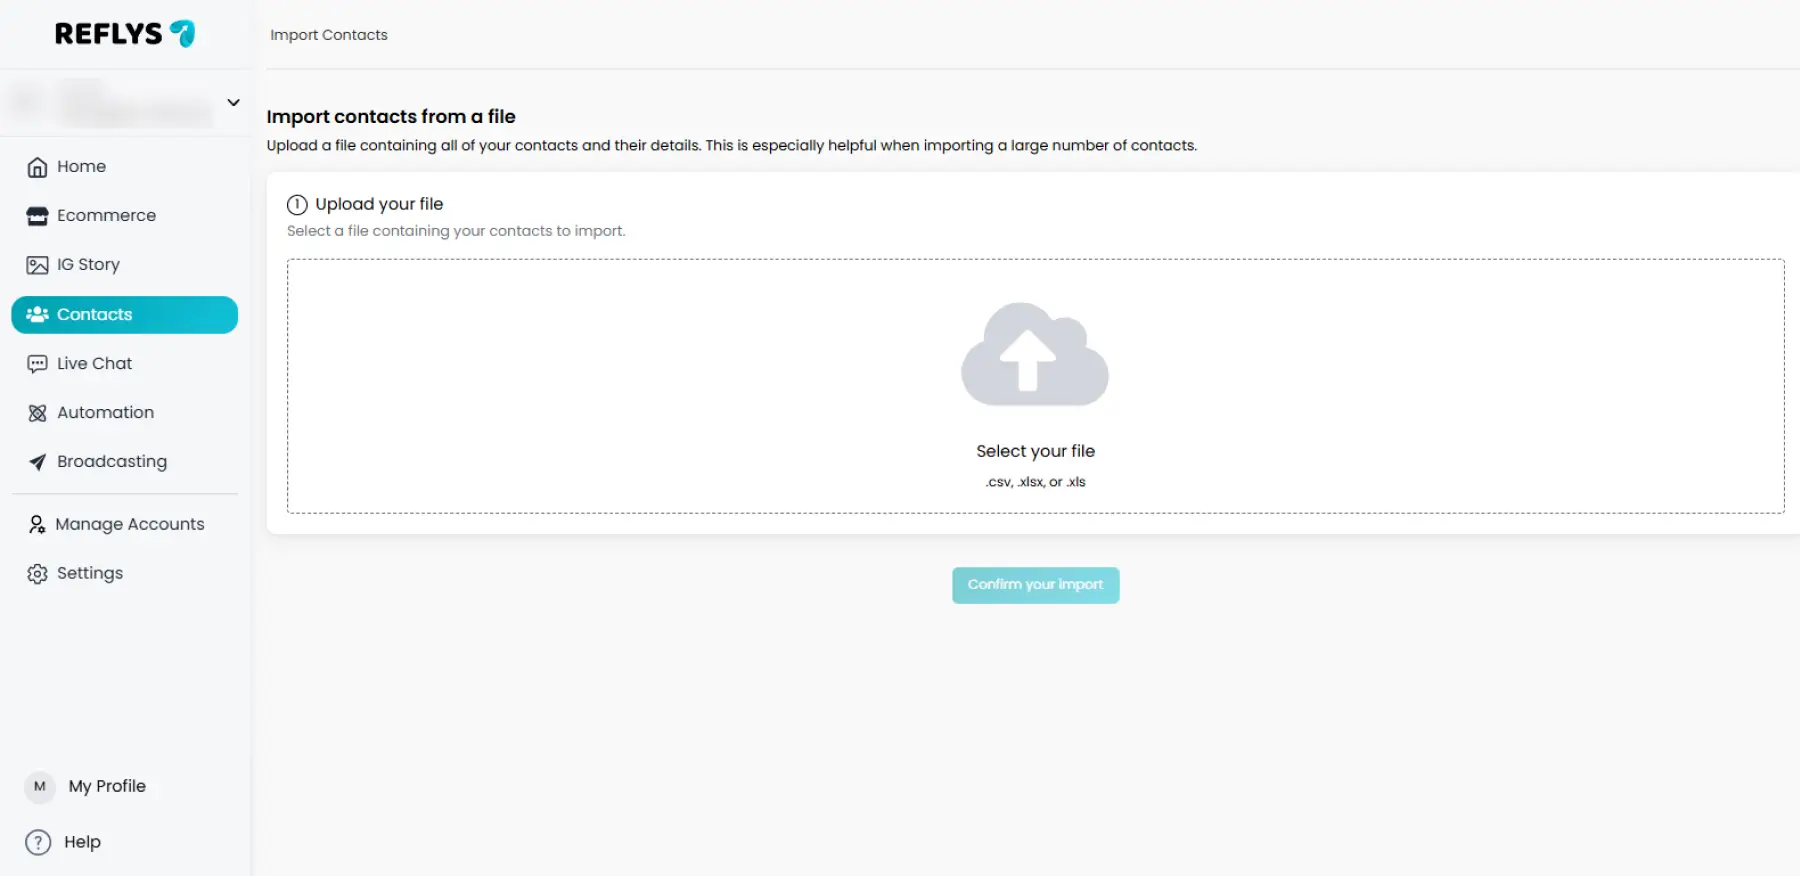
Importing and Exporting Contacts
If you already have a contact list, you can import it into Reflys for use in WhatsApp, Email, or SMS campaigns.
Before Importing:
- Go to the Contacts tab.
- Click on Import Contacts.
- Upload your file in the supported format.
- Arrange your file’s columns to the correct Reflys fields (e.g., Name → Full Name, Phone → Phone Number).
- Review your data and confirm the import.
By learning how to manage your contacts effectively in Reflys, you can run targeted campaigns, keep your audience engaged, and maintain clean, organized contact lists.
Exporting Contacts
Exporting contacts can be useful for:
- Creating backup lists
- Running targeted ads on external platforms
- Analyzing your audience data
How to Export Contacts
- Go to the Contacts tab.
- Use filters or segments to select the exact contacts you want to export.
- Click the Bulk Actions menu.
- Choose Export Contacts in .csv, .xlsx, or .xls format.
- Save the generated file to your computer.
Now that you know how to view, organize, import, and export contacts in Reflys, you have all the tools you need to keep your audience data neat and ready for campaigns.
Here are a few tips to get the most out of your Contacts tab:
- Update regularly – Keep your contact list up to date by removing outdated or inactive contacts.
- Use tags and segments strategically – Group contacts based on interests, actions, or purchase history for better targeting.
- Respect privacy – Always ensure you have consent before sending any messages.
- Leverage automation – Set up automated tagging and segmentation to save time and improve personalization.
A successful marketing campaign begins with knowing how to send the correct message to the right person at the right time, which can be achieved by properly managing your Contacts tab. Whether you’re reaching out to a new lead, following up with a loyal customer, or re-engaging a past subscriber, your well-organized contact list will be your most valuable asset.